
Magic Tricks?
Rather unexpectedly, Magic Select does not take its foreground image untouched.
Here you can see the original and Magic Selected image overlaid. I’ve moved the cropped label around to try and line it up with the original, but it’s bigger. I’ve aligned it so you can see the difference clearly.
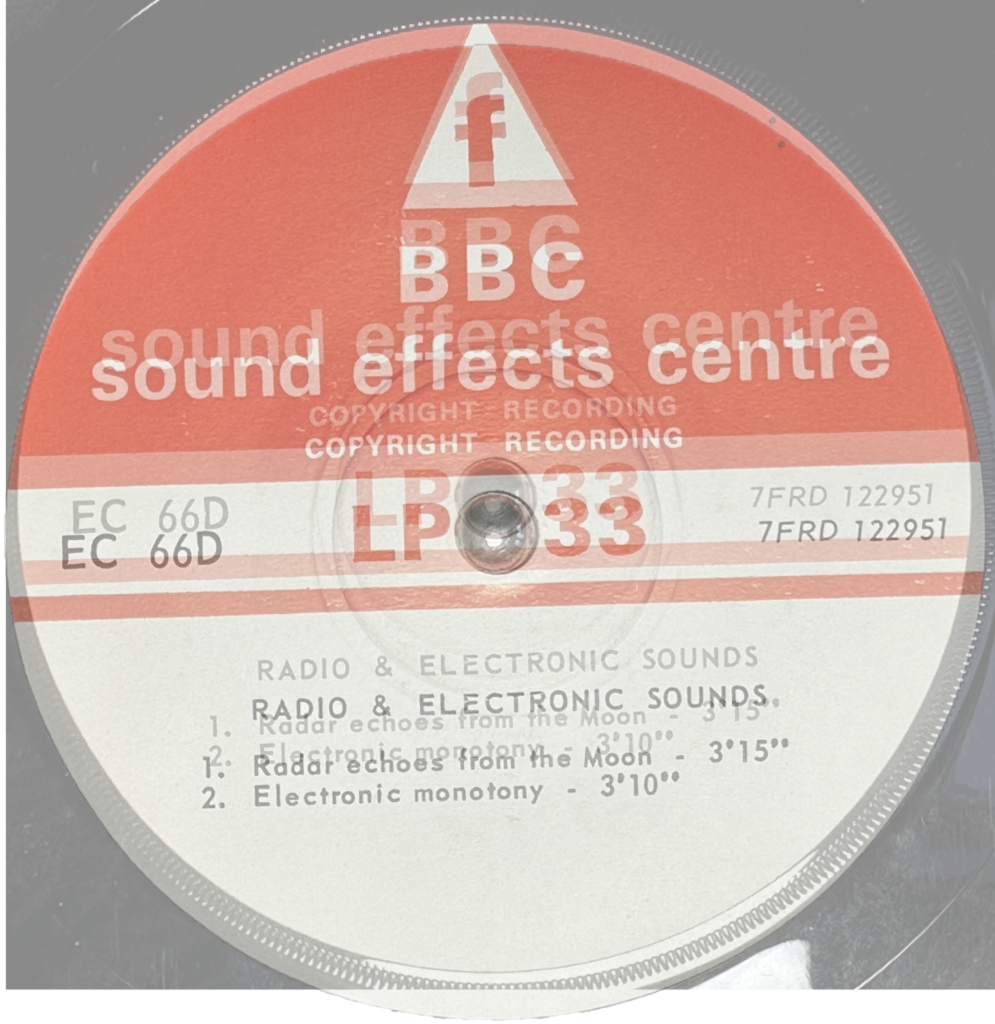
With a bit of experimentation, I found that the Magic Select version needs to be shrunk to 97.5% to get it back to the original size. This worked on the first and last images of the batch. Now I know that, what good does it do me?
If I make the canvas bigger by x1.0256 (3101.5px) then it will match the new size of the image I don’t need to right-shift it and in fact, the foreground image is located exactly where it was before, just larger. If I overlay it with the original and then shrink it by x0.975 it lines up perfectly. Almost, anyway. I can’t have half pixels!
Separation Anxiety
Meanwhile, I came up with a way to separate the label from the reflective vinyl. It’s currently a rather convoluted route although there may be some way to optimise it.
The problem for Magic Select is that the reflection is too close in colour (white) and location to the label to fully separate. It is possible though to easily change the colour of the label. Because the label always has a slight edge, and also isn’t true white, the Paint 3D fill tool can be used to flood it with another colour. With that done, Magic Select has no trouble separating out the label from the reflections.
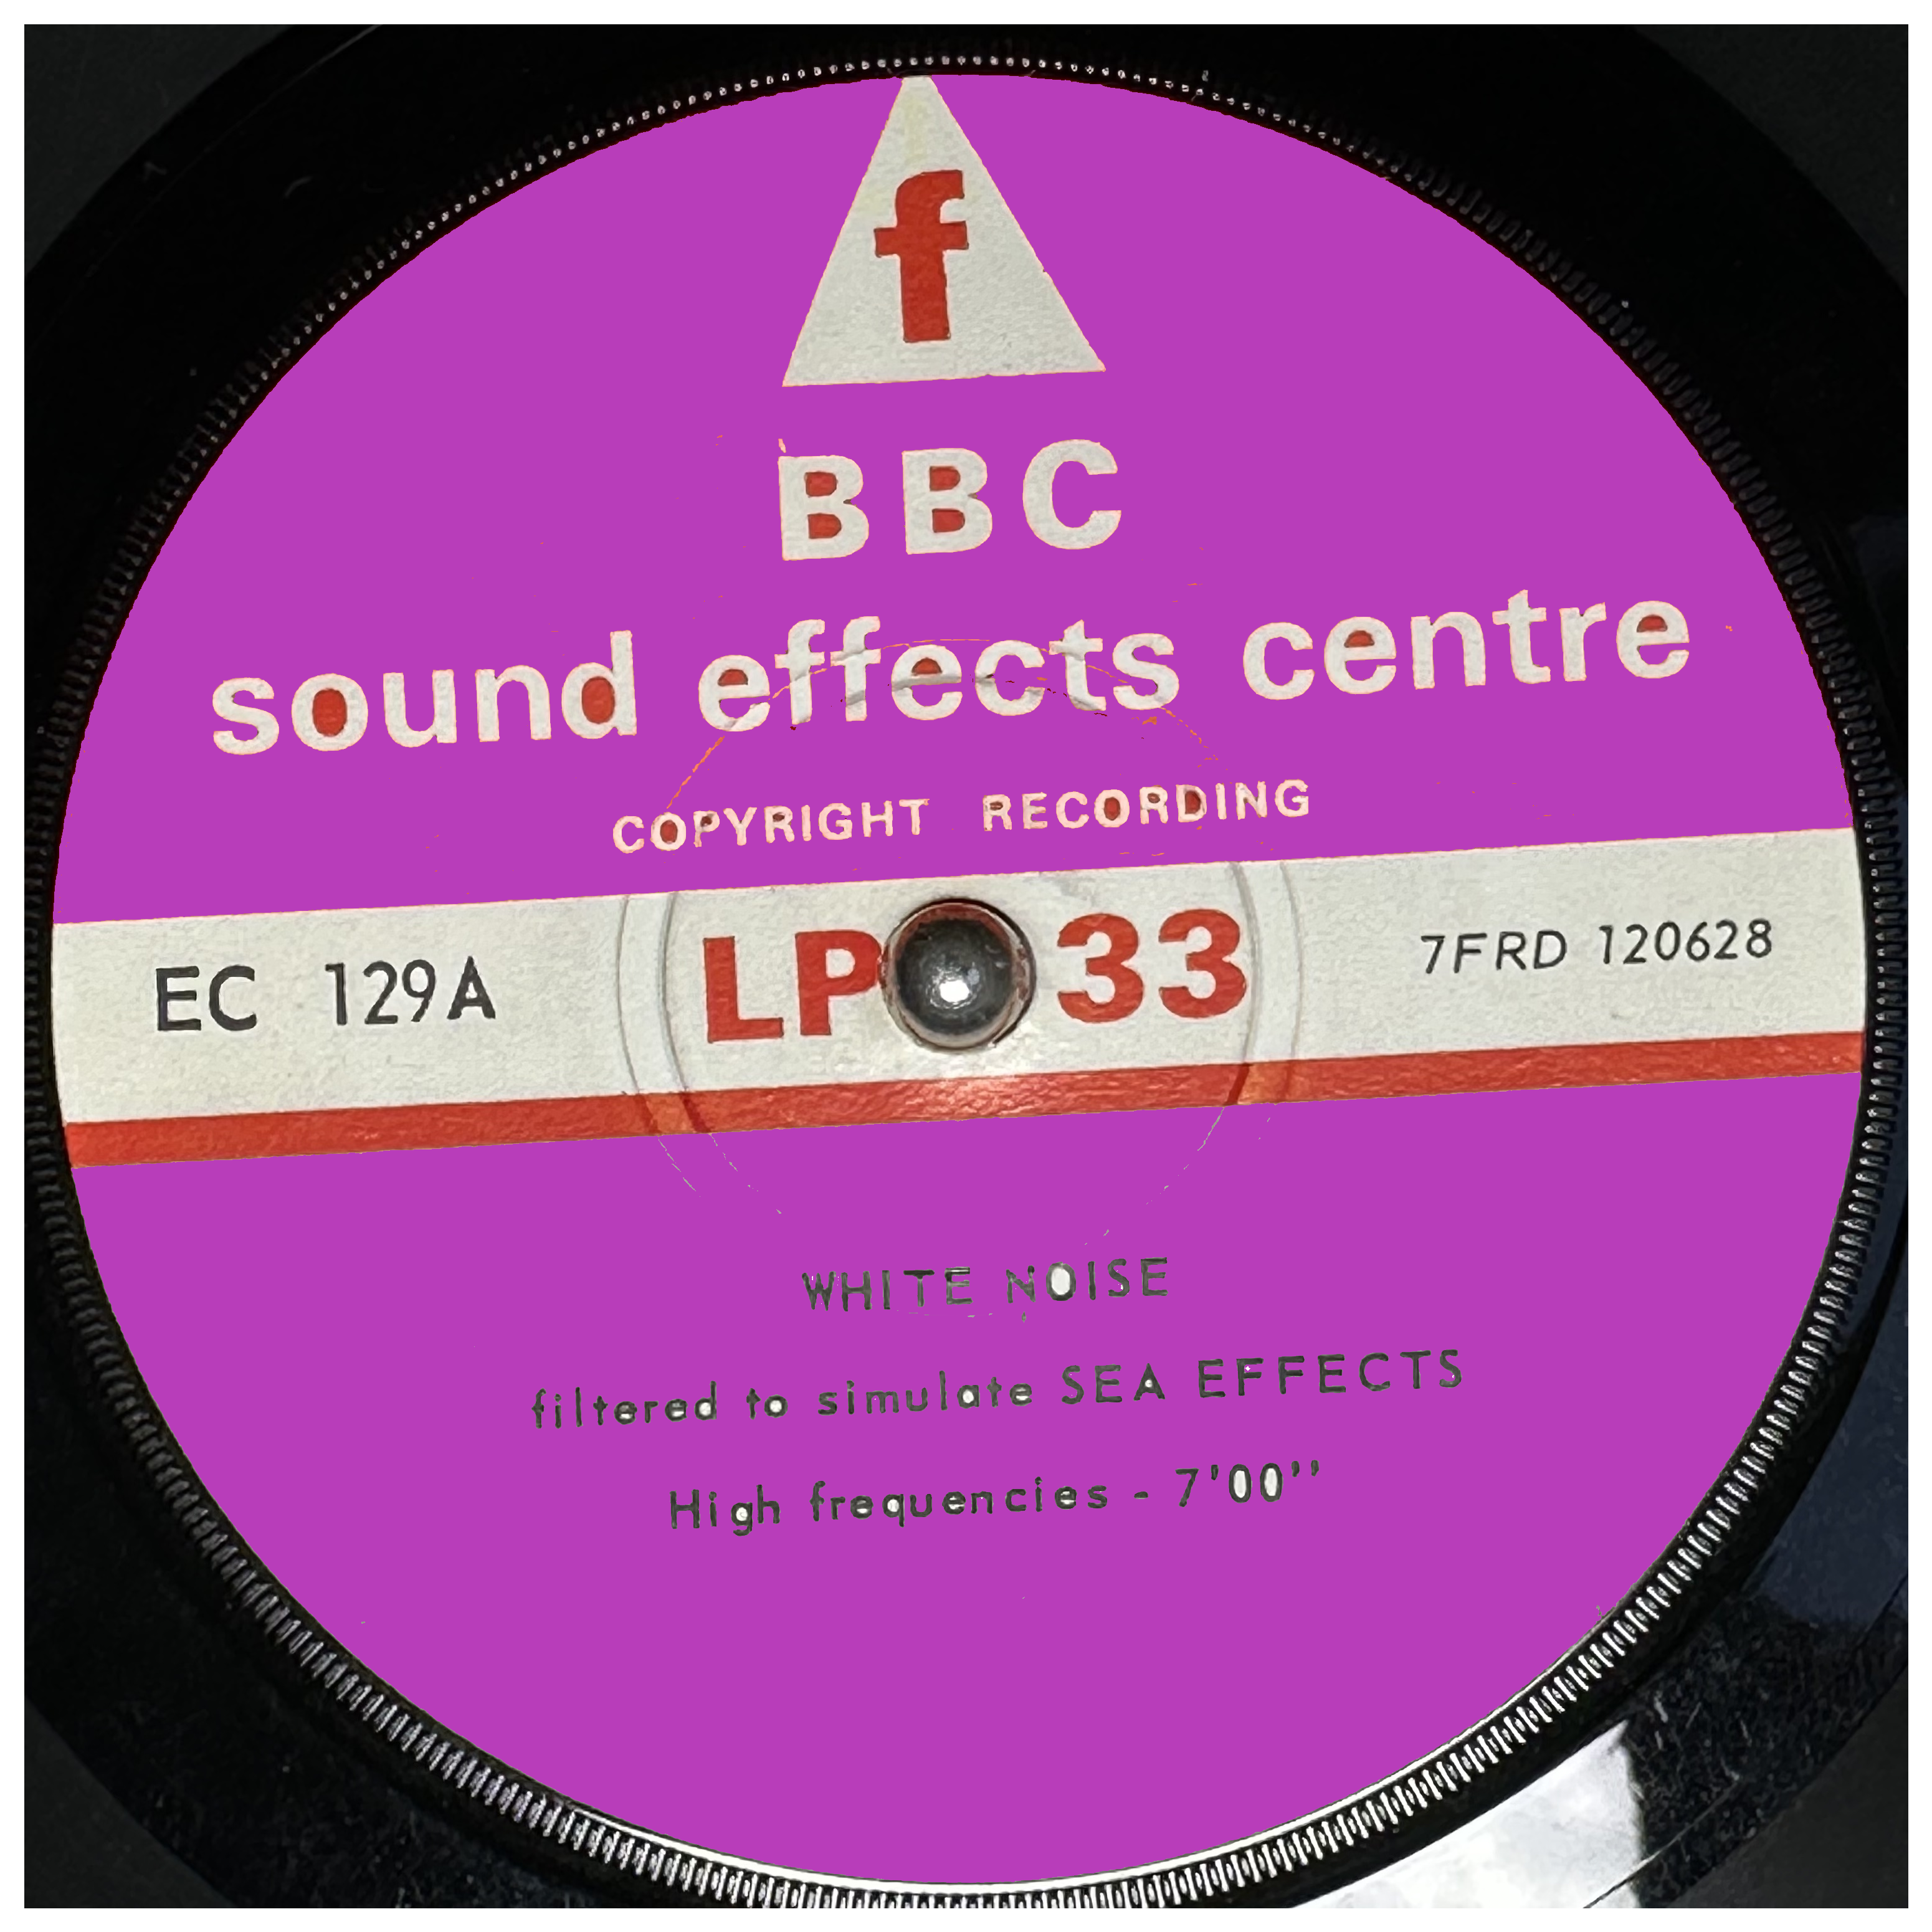
Okay, there remains the problem of how to replace the colour. Instead of solving that problem I used it as advantage. I can fill the white area with white, the red areas with red. Below is the quick version of that and a slow manual retouched version, just for the hell of it, because I wanted to see how it came out. I left a couple of cups on the ‘B’ so you can see it as a work in progress.
Posterize Paint
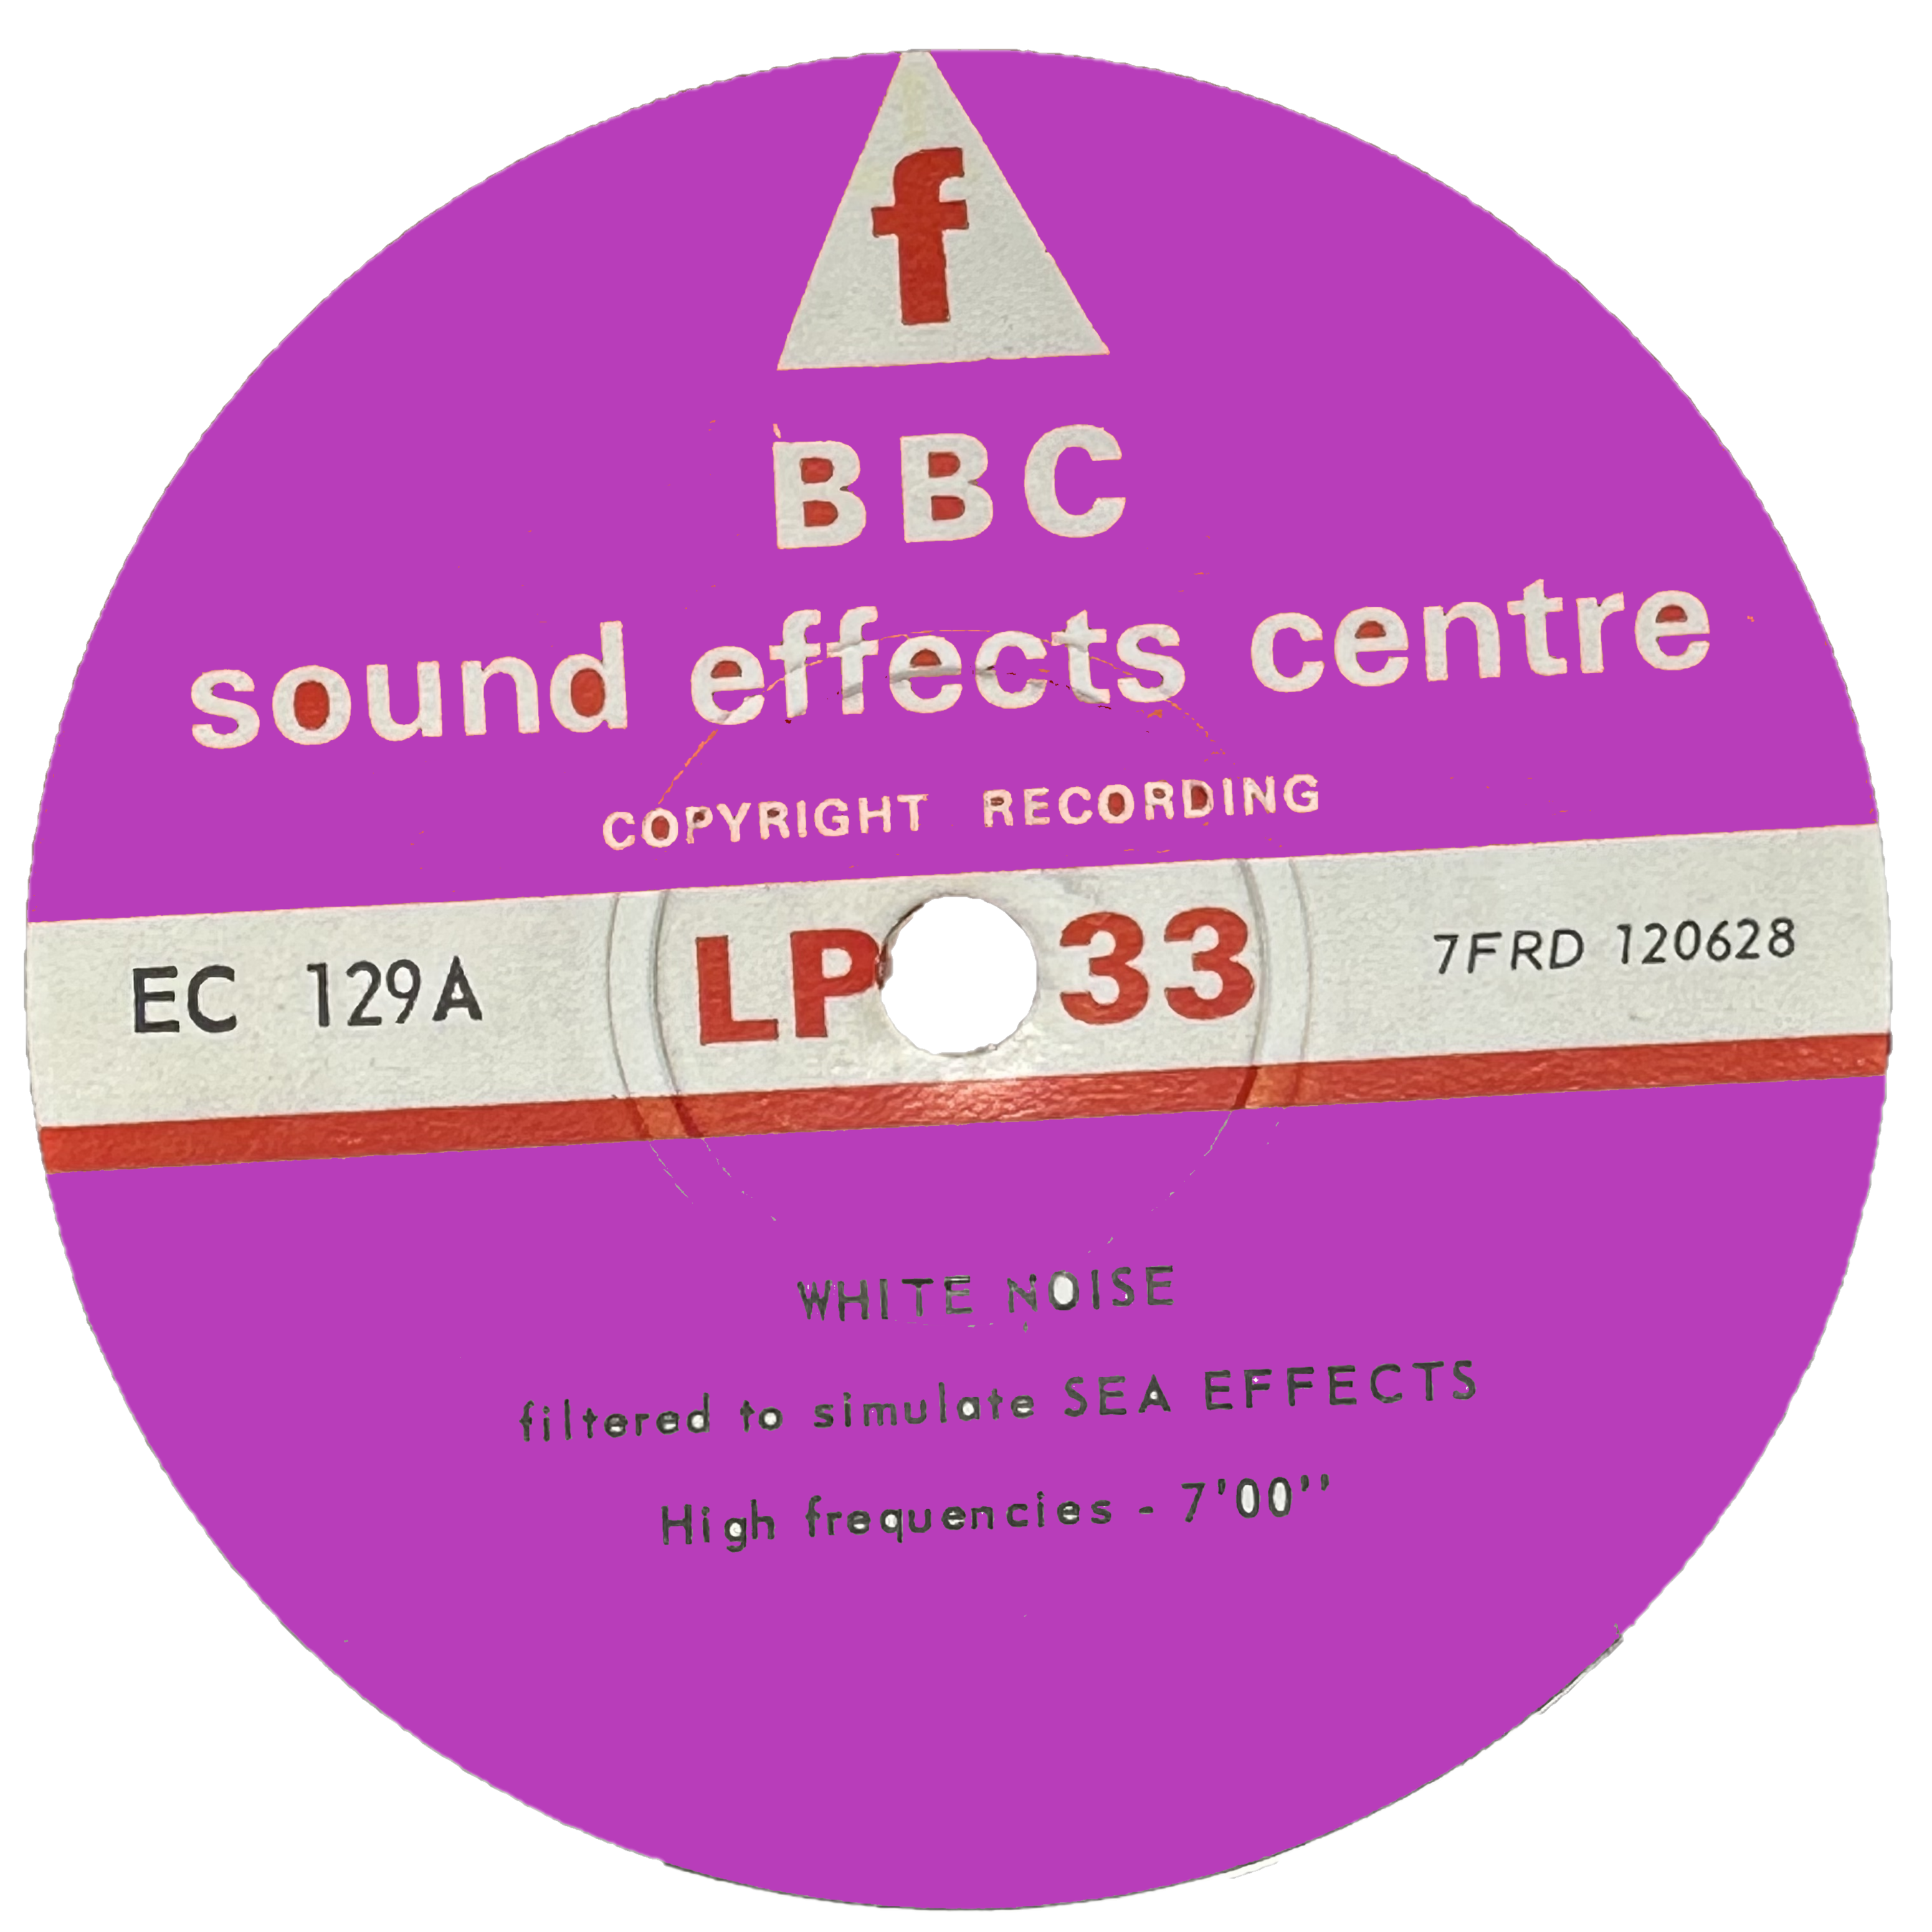
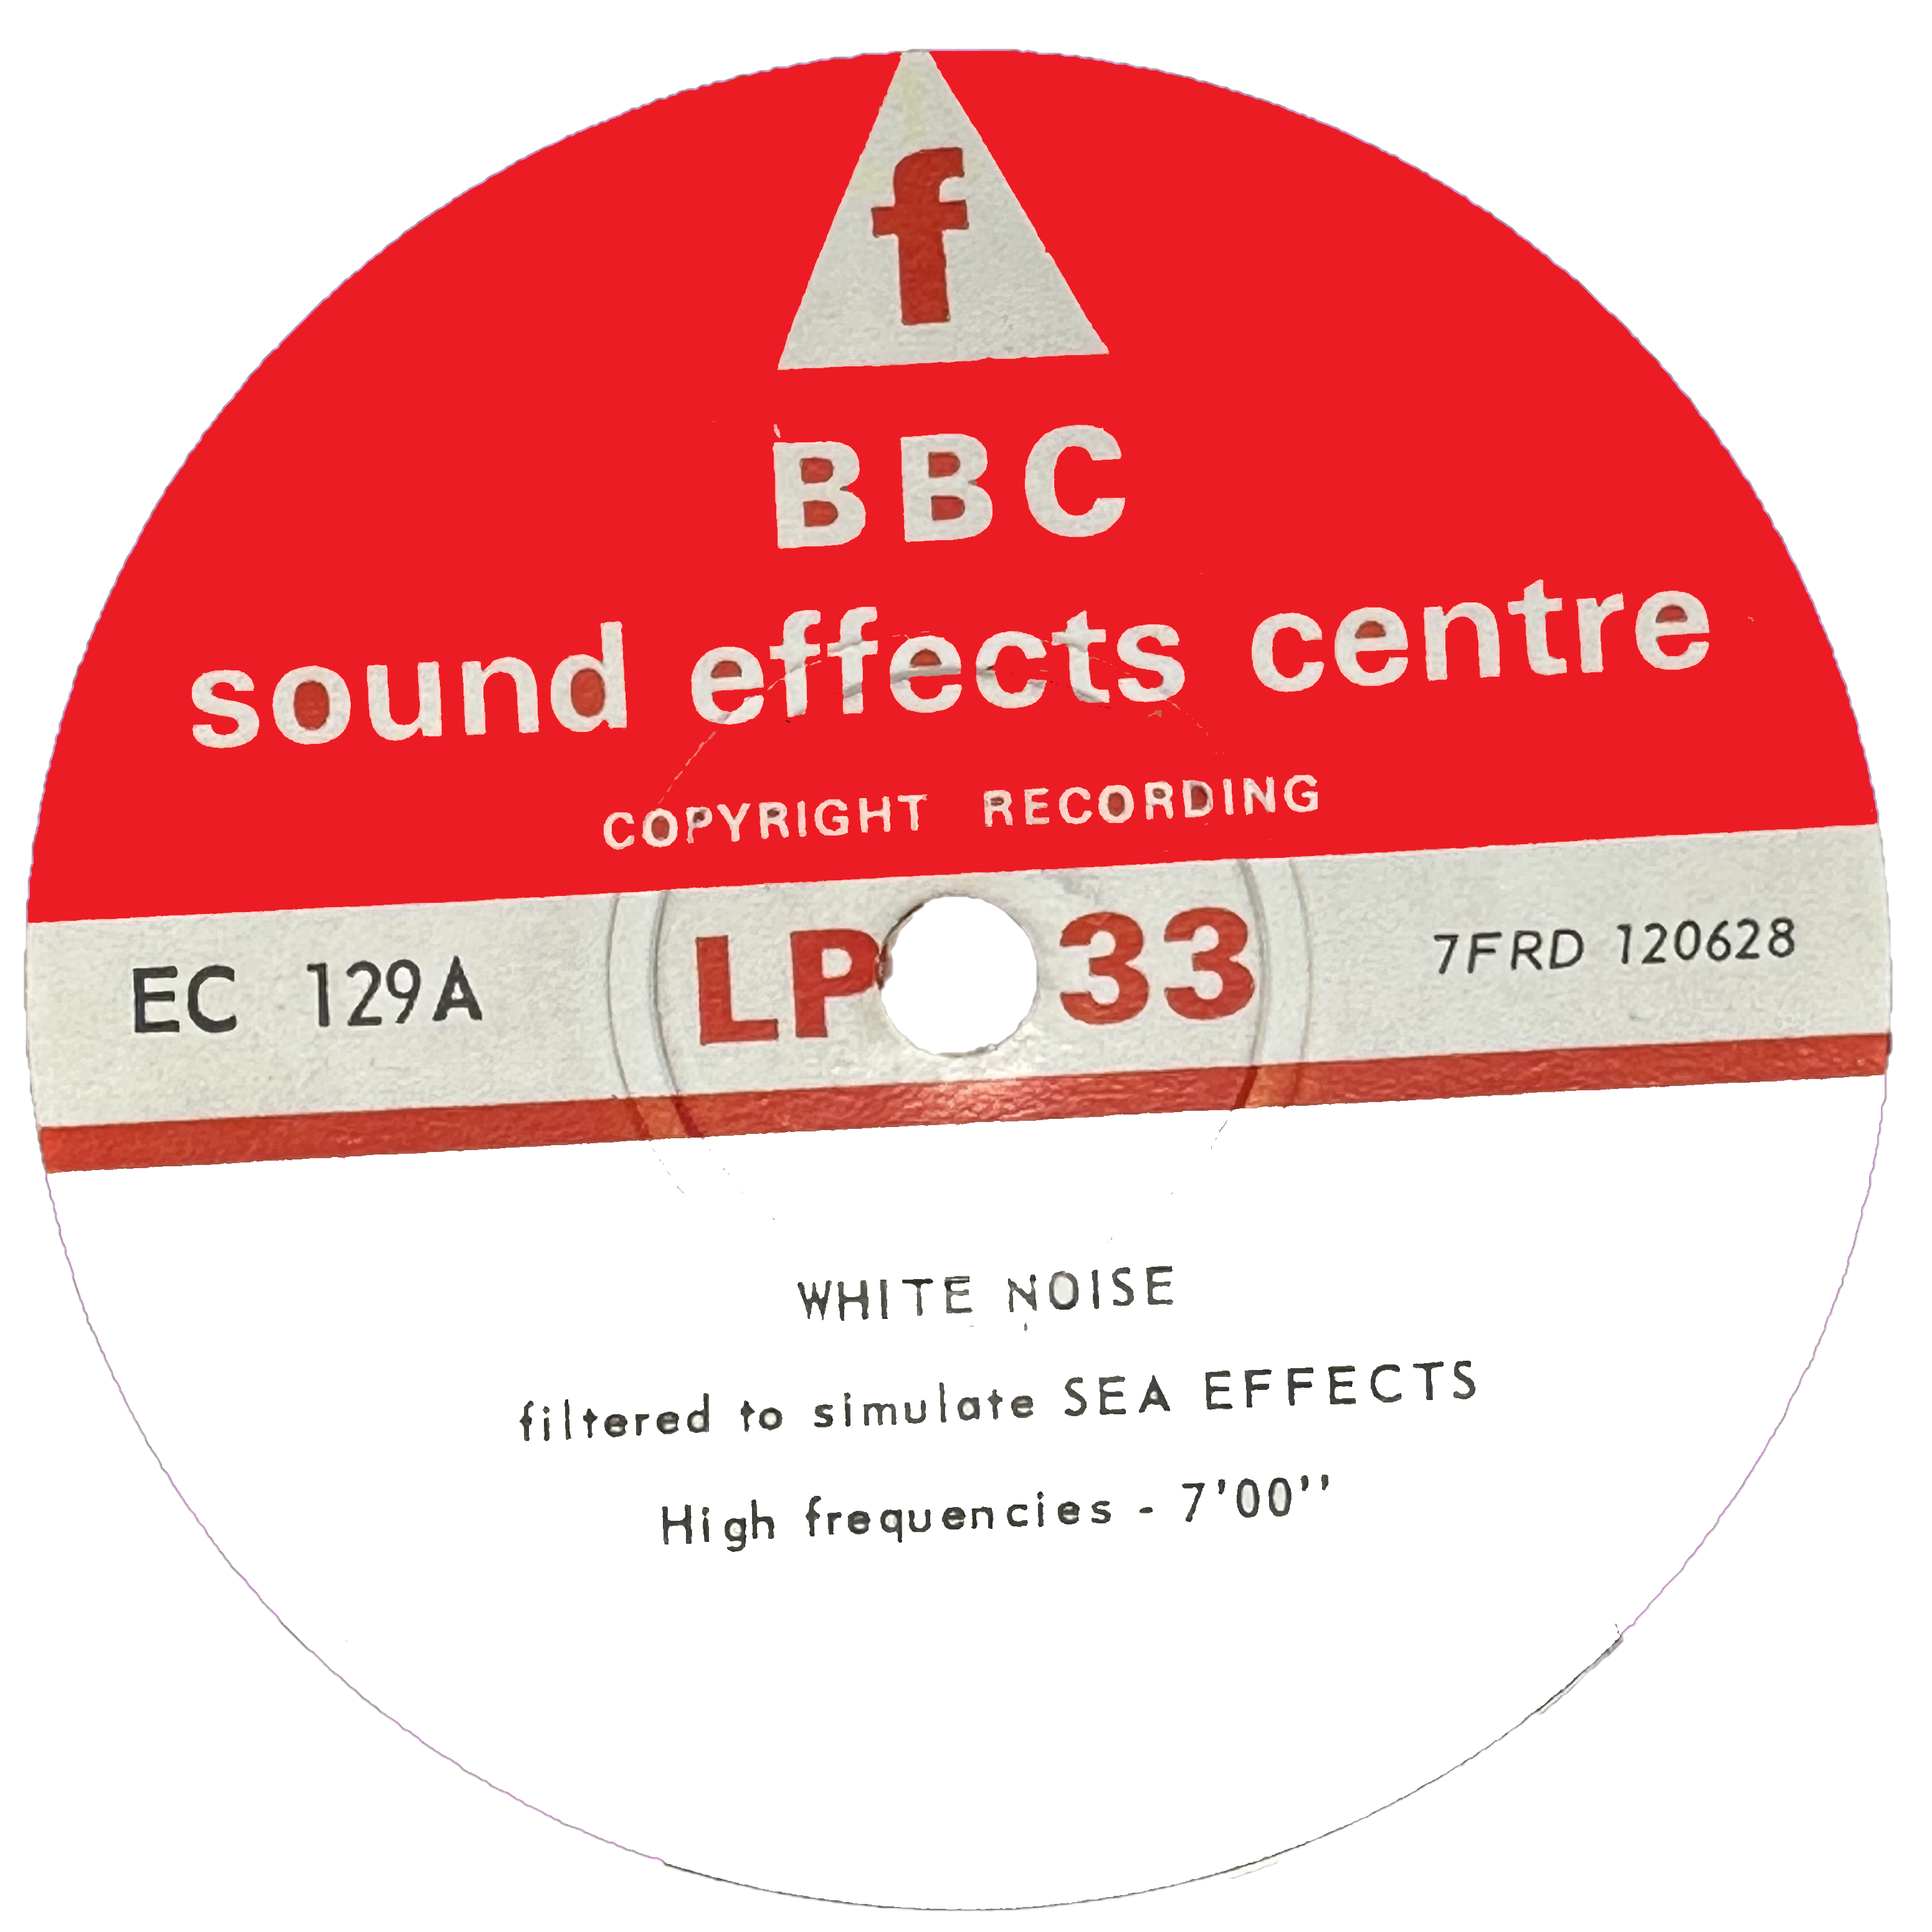
No, of course I’m not going to do that for every image, but I don’t have to. Paint 3D is handy for some jobs (Magic Select) and completely lacking in many other features. Swicthing over to GNU Image Manipluation Program (GIMP) I can instead apply a two-level posterize process and, ta-da!
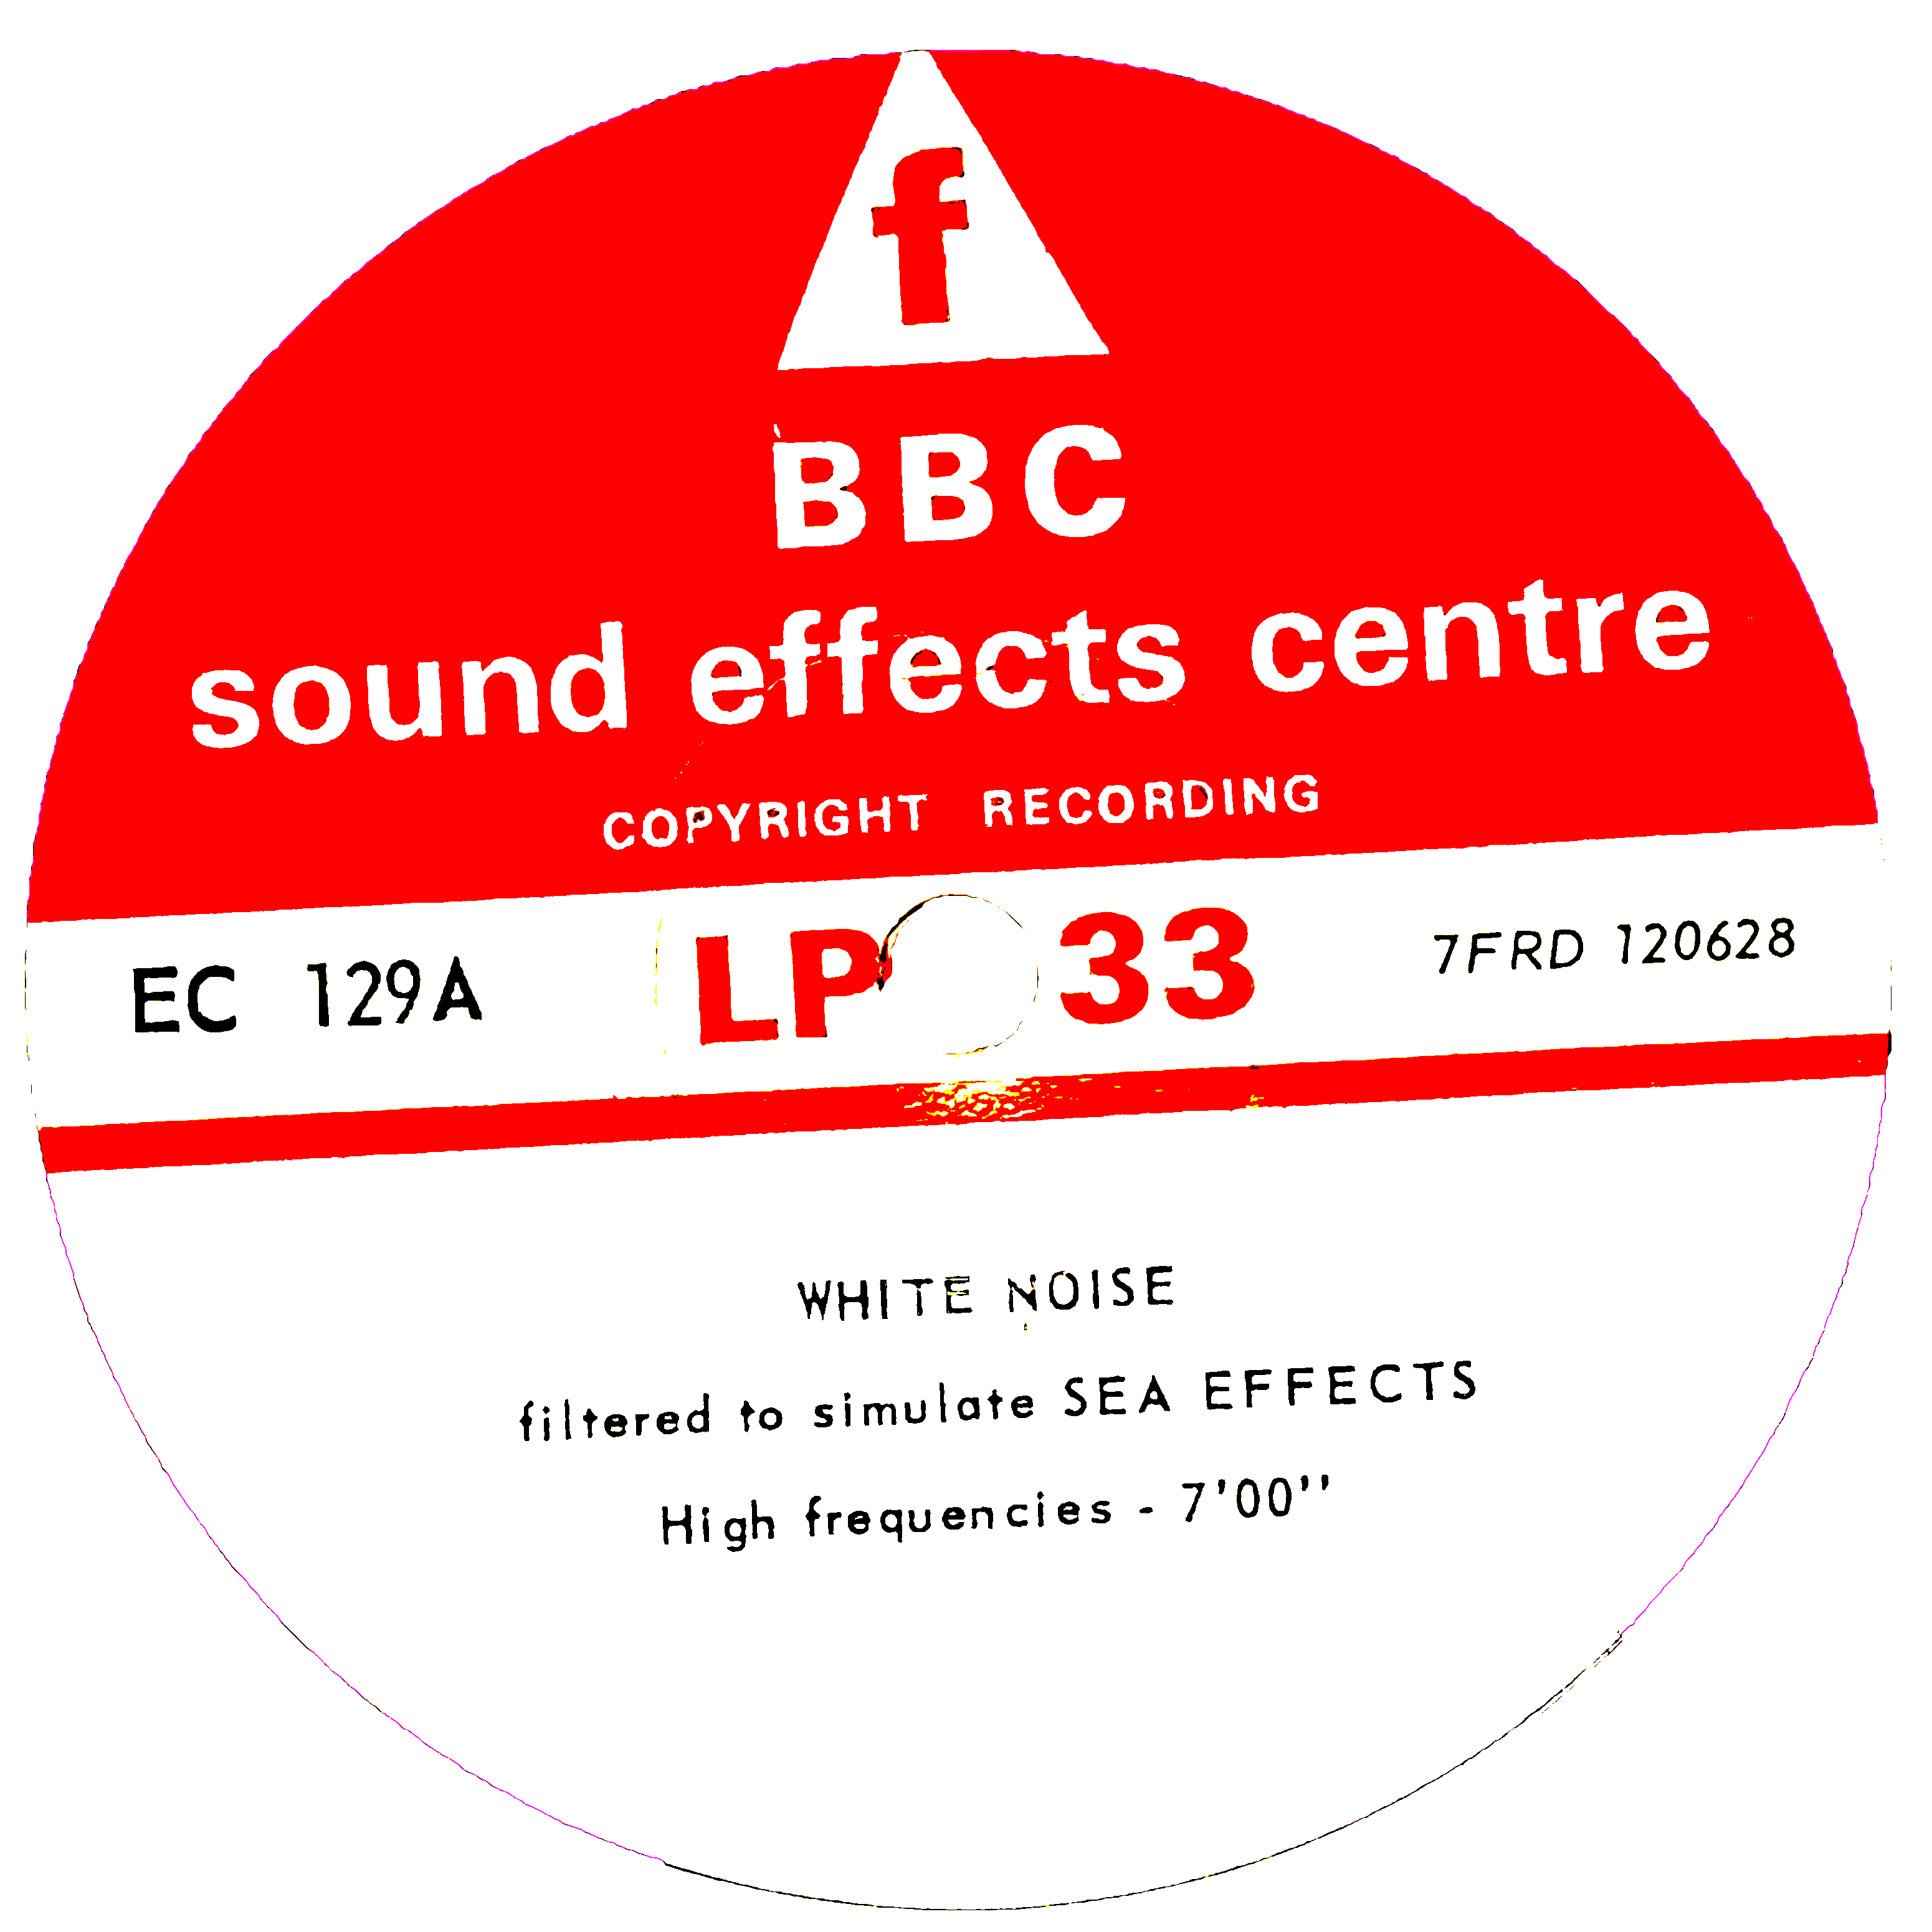
Alright, it’s still not perfect. I hope to improve on that a bit more and the better lighting of the photos should help here too. Nevertheless, I’m very happy with the results here. I hadn’t thought of this before but posterising the image is a great result. Why do I really want a photo of a slightly beige, not quite red label?
The other advantage of doing this is that the image files are a lot fewer bytes. The image above went from 1.7MB to 136KB – well over nintey percent reduction. That’s great for speed of upload, download and presentation as well as taking up less space in the world. I reckon It could mean needing about a half a gigabyte instead of 5+ gigabytes of storage for all the images.
Optional Centre Extra
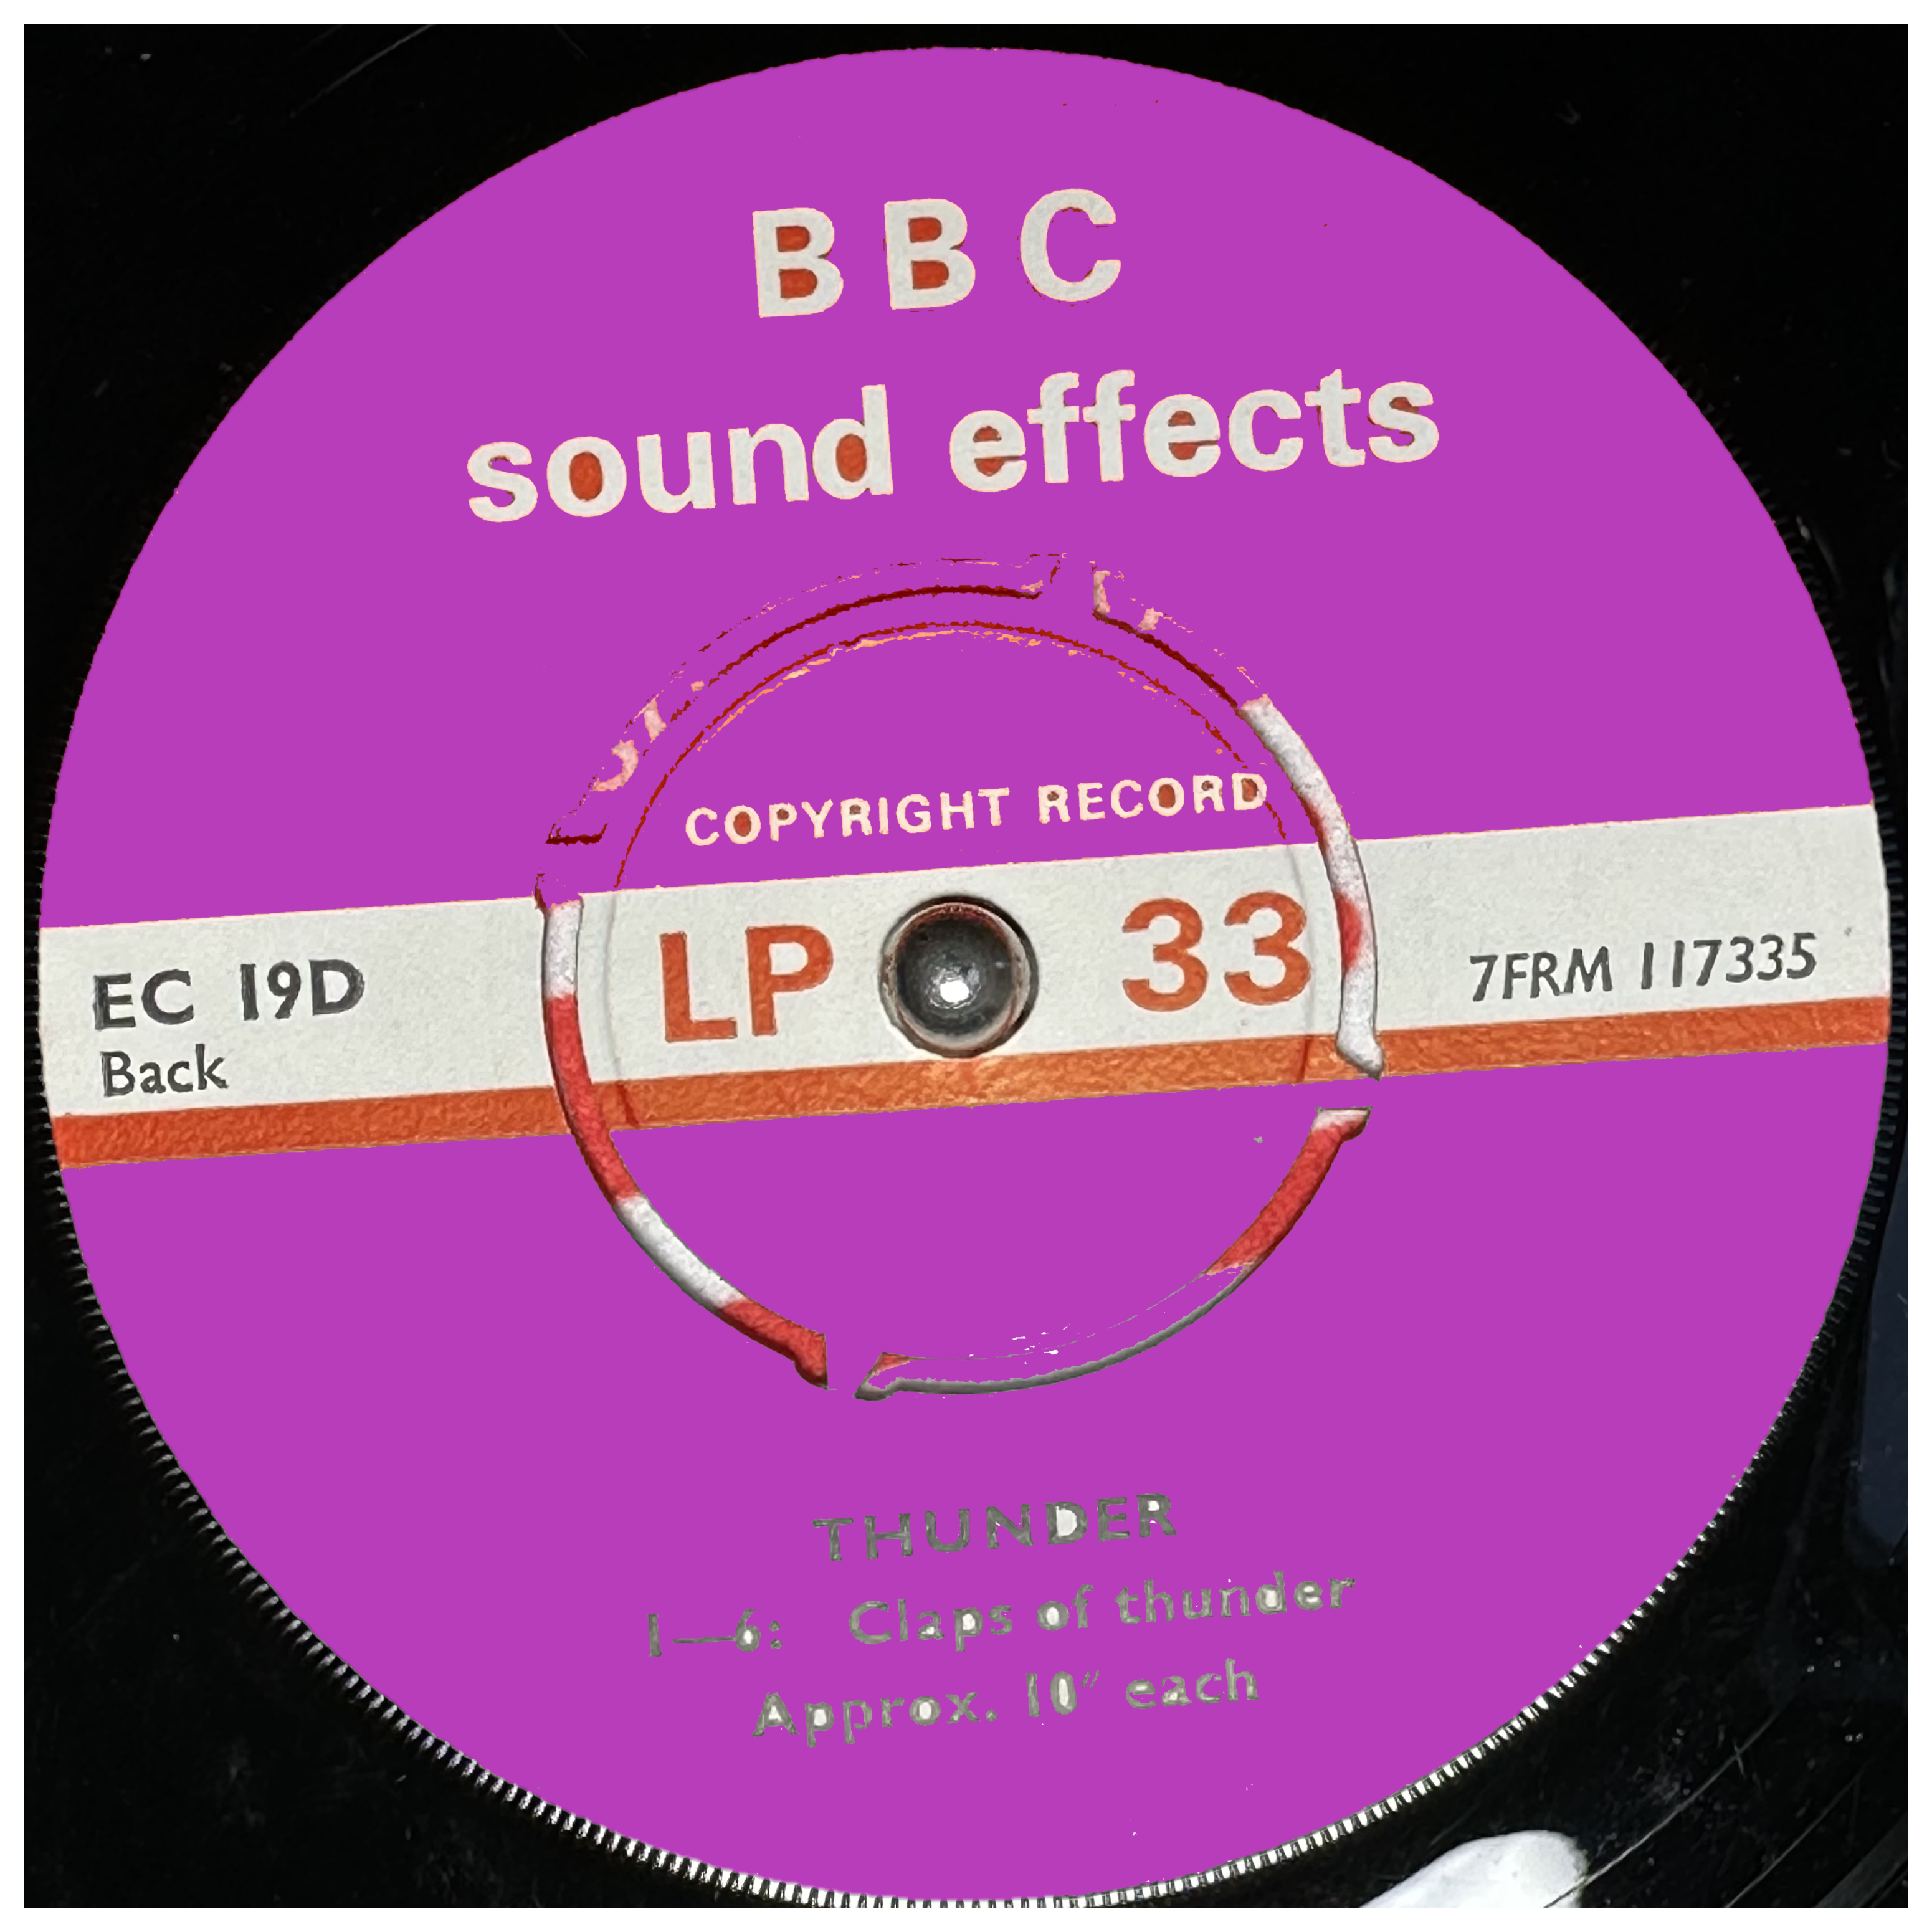
Nothing is ever that easy though. Those discs pressed with Optional Centres (OC) are, as I’ve noted already, not ideal for this kind of processing. That is especially true when because I used a slip mat underneath in the exact same colours. I can and will fix this in the next photographic session though.
Mask Cut
Another option is to use the perfected Magic Select process to create a mask. This would be done with OpenCV by making a white shape against a black background. The Magic Select image would need to be reduced in size (see above), but that would be a simple job. Then the mask could be used to cut out the original image perfectly. Although I could do this I’ve decided I prefer the posteized process.
Conclusion
Filling in the main red and white areas of the label with another colour makes the Magic Select tool work much better. Noting the reszing of the selected shape this makes Magic Select a good option again. There will have to be some work done on my Power Automate flow to get this working smoothly and integrate Python scripts and Paint 3D. The OC discs will need better photos too. The end result means a cleaner image, due to the post-fill posterisation process and smaller files.