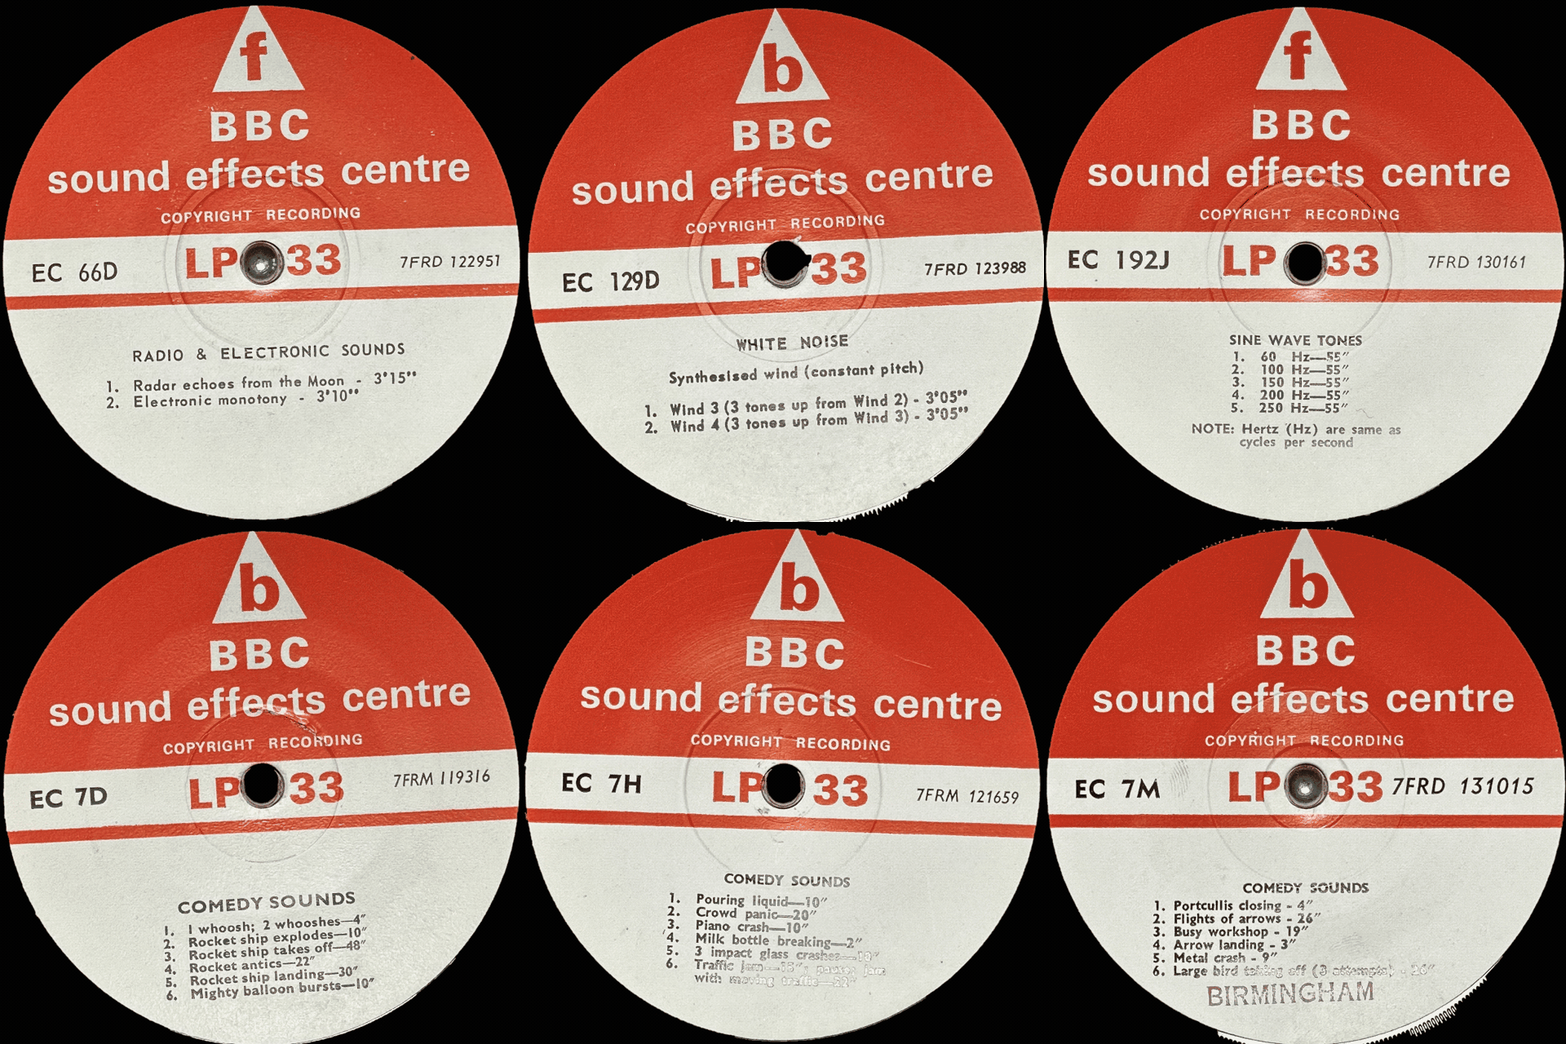
Frustrated with OpenCV and the imperfections of the processes I was using, I decided to see how things worked out using Paint 3D and Power Automate. This was the result.

To summarise, I took an initial batch of photos to test out ways of automatically cropping the label of all my BBC SFX 7″ discs. So far I’ve tried using the OpenCV library run in Python and now Power Automate running Paint 3D in Windows.
Paint 3D has an easy and fast way to crop out foreground images from the background – simply hit the Magic Select button on my photo and the label pops out. The animated gif above shows the result of doing this on forty-two images. It’s not perfect either, but for now just focus on the fact that this was done automatically, hands off, whilst I watched something on TV.
Power Automate
Clearly, if I was only processing 42 images this would be something I would do by hand, but with hundreds and hundreds to get through Power Automate is a way to speed it up and avoid the tedium.
The first thing was to set up a folder with all the photos in and another to save the magically selected ones into. Then in PA, create a variable for the and read out a list of all the files in the folder. This is the basis of a foreach loop where for each file in this files list I’m going to cut the label and save it in a new file. At the start of each iteration of the ‘for’ loop, ‘each’ file is cued up.
I wanted the PA flow to open Paint 3D at the start and this immediately created a problem. Microsoft has taken to hiding the executable of their applications so there wasn’t an obvious way of running P3D from the flow. Eventually, I found a hint to run a Powershell Script like so: start ms-paint: /ForceBootstrapPaint3D.
Obviously.
Recorder
Anyway with P3D running the next bit is to open a canvas which I prepared earlier. This canvas is the same dimensions as the images and its background is transparent. To drive P3D the simplest thing to do is to start the recorder in PA and go through the motions. Each button click is added to flow that can then be inserted into the foreach loop.
The only tricky part is that when you are clicking around in P3D you don’t have access to the variable of the file/folder names. The way I did this was to type some dummy text (literally “text”) into the filename box and stop recording. So, after selecting Insert, the last step in the recorded flow was ‘Populate text field in window’ with the text being “text”. Then it’s a doddle to edit the Action and replace the “text” with the variable of the current file, which is the .FullName part of the variable returned for each file in the folder and includes the full path.
Now when running the flow the recorded actions stopped after the action which inserted the photo image. Starting recording again I selected, well, Magic Select. There are some options here to clean up the selected image but as this is automated I just clocked through Done and Next till the background and foreground are separated. Cutting the foreground to the clipboard, selecting the background and deleting that clears the canvas. Then I paste the foreground image back.
At this point, I ran into a quirk of P3D. When it lifts the foreground out with Magic Select it moves it out of position. It’s only slightly off, but when pasting back it is to the left and over the edge of the canvas. To solve that I hit the right cursor key a few times and PA recorded the Action. Saving the image is the same process as opening except I need a different folder to Save As and make sure .png. is the default format (jpegs don’t store the transparent background). I used the same image name for now. The only thing left is to delete the image so that there is a black canvas left for the next image to start with.
Results
Here’s a video showing a single iteration of the foreach loop.
It wasn’t quite all as easy as I’d hoped. My initial attempts failed for a few reasons. I was trying to open and close P3D in each iteration of the foreach loop and that was simply unnecessary. Initially, I didn’t get the canvas and file opening to the saving process right either. Inserting the image onto the already open canvas worked best and took fewer steps overall. I ran into issues because the timing when all this opening and closing of things was going on was wasteful but more importantly fallible. I was finding that running once or twice worked and then the third would miss something. Rerunning it failed on the first cycle. There’s no particular logic to this and I mostly fixed it by trial and error and avoiding loading time as much as possible.
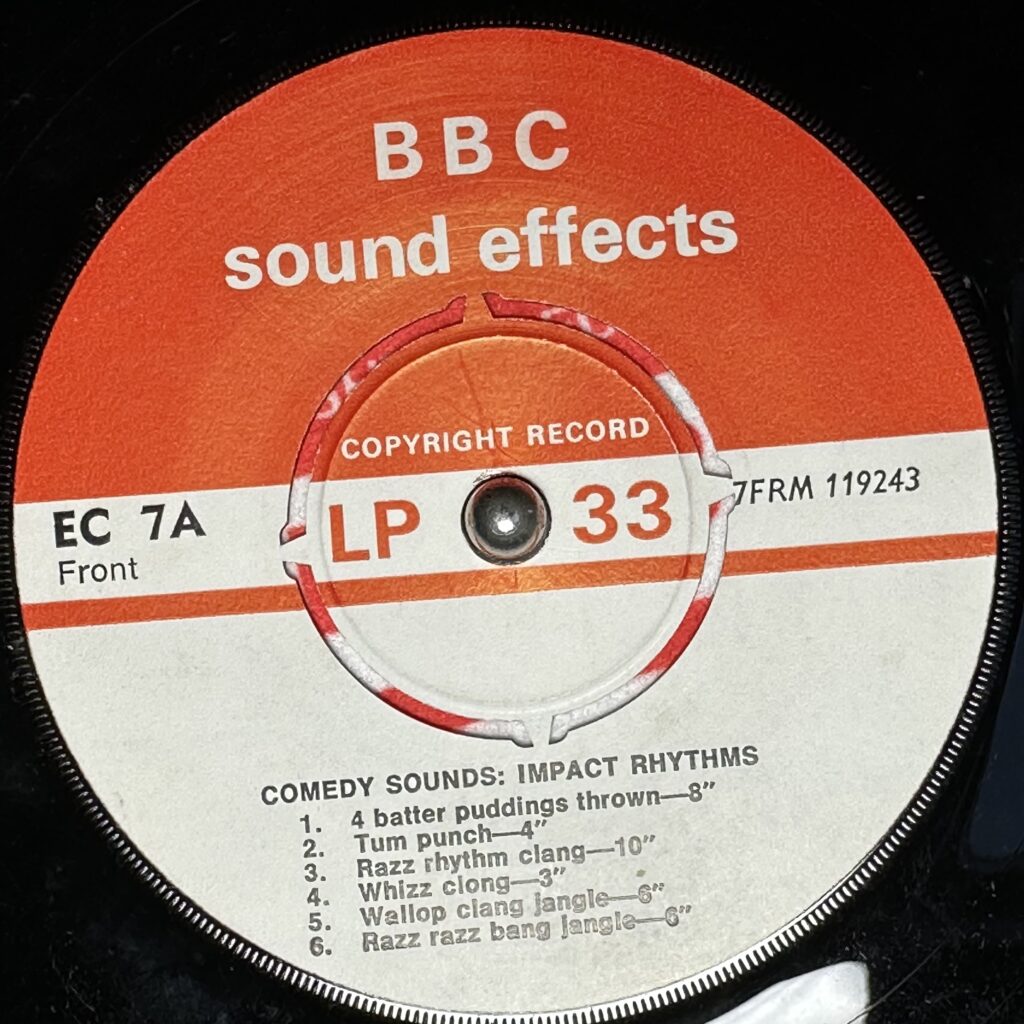
The results can be seen at the top of the post, but here’s two image, before and after for example


Problems
Let’s list the problems:
- Magic Select is not always a clean crop with the indented serrations and thin line of vinyl reflections being picked up.
- The additional size of the cropped labels offsets the images
- The larger and offset images sometimes overlap the edges of the canvas.
- The spindle is sometimes removed, but not always.
Note that the rotational alignment is something I will fix in another way, probably using OCR to detect what the correction should be.
Conclusion
Overall this was better than the OpenCV approach, but not by a lot. It might be easier overall to program PA though. The real issue is still the lighting on the vinyl being detected as part of the label. Can I eliminate that?

